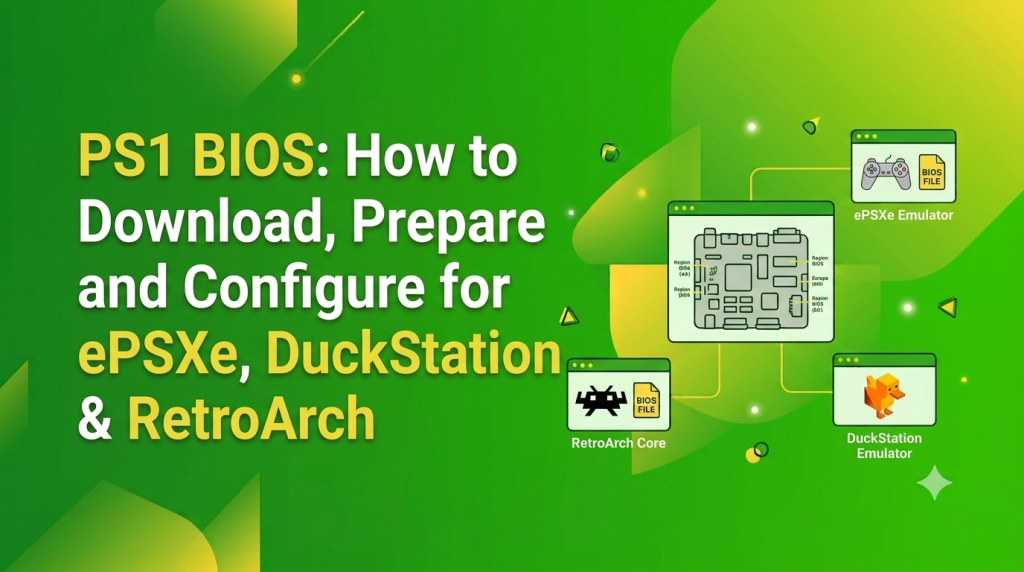
The PlayStation 1 (PS1) BIOS is the firmware used by the original Sony PlayStation console. Many emulators rely on this firmware to accurately initialize hardware, display the original startup sequence, improve game compatibility, and provide reliable memory card support. This guide explains how to prepare, configure, and verify a PS1 BIOS for popular desktop and mobile emulators.
What Is the PS1 BIOS and Why Emulators Need It
The PS1 BIOS is low-level firmware permanently stored inside every original PlayStation console. During startup, it initializes the console’s hardware, verifies inserted game discs, prepares memory cards, and loads software.
Although some emulators provide High-Level Emulation (HLE), using an authentic BIOS generally delivers more accurate hardware emulation, improved compatibility, and behavior that closely matches the original PlayStation.
PS1 BIOS Versions
Sony released multiple BIOS revisions for different console models and geographic regions. Selecting the correct version helps maximize compatibility while preserving authentic console behavior.
Region Variants: NTSC-U (USA), PAL (Europe), NTSC-J (Japan), and Other Variants
The NTSC-U BIOS is designed for North American consoles, the PAL BIOS supports European systems, and the NTSC-J BIOS is intended for Japanese hardware. Sony also produced additional regional and hardware-specific BIOS revisions for certain markets.
Using the BIOS that matches the region of your games usually provides the best overall compatibility.
Choosing for Compatibility vs Authentic Startup Behavior
If your primary goal is maximum game compatibility, it is generally recommended to select a BIOS that matches the game’s original region.
Users interested in preserving the authentic PlayStation experience may also choose BIOS revisions that correspond to the original hardware model used by the software.
Prepare Your Files and System
Before configuring an emulator, ensure that your BIOS files have been verified, organized correctly, and stored in an accessible location.
Recommended BIOS Filenames and Directory Locations
Most PlayStation emulators expect BIOS files to be stored inside a dedicated BIOS or System folder. Preserving the original BIOS filename and maintaining a clean folder structure simplifies emulator configuration and future updates.
Downloading, Verifying Integrity (Checksums), and Unzipping Safely
The recommended approach is to use a BIOS dumped from a PlayStation console you legally own. Before using the firmware, compare its checksum with a trusted reference to verify authenticity and extract it from any compressed archive if necessary.
File Permissions, Antivirus, and Storage Tips
Store BIOS files in a permanent directory that your emulator can access. Confirm that antivirus software has not quarantined the firmware and verify that the emulator has the necessary storage permissions, especially on mobile platforms.
Install and Configure PS1 BIOS — Desktop Emulators
Desktop PlayStation emulators follow similar BIOS installation procedures while providing their own graphics, controller, and performance settings.
ePSXe — Place BIOS, Point Emulator to File, and Run a Test ROM
Copy the BIOS into the ePSXe BIOS directory or manually select it through the emulator settings. After detection, configure graphics, controllers, audio, and memory cards before launching a known-compatible PlayStation game to verify successful setup.
DuckStation — Add BIOS, Scan Settings, and Core Configuration
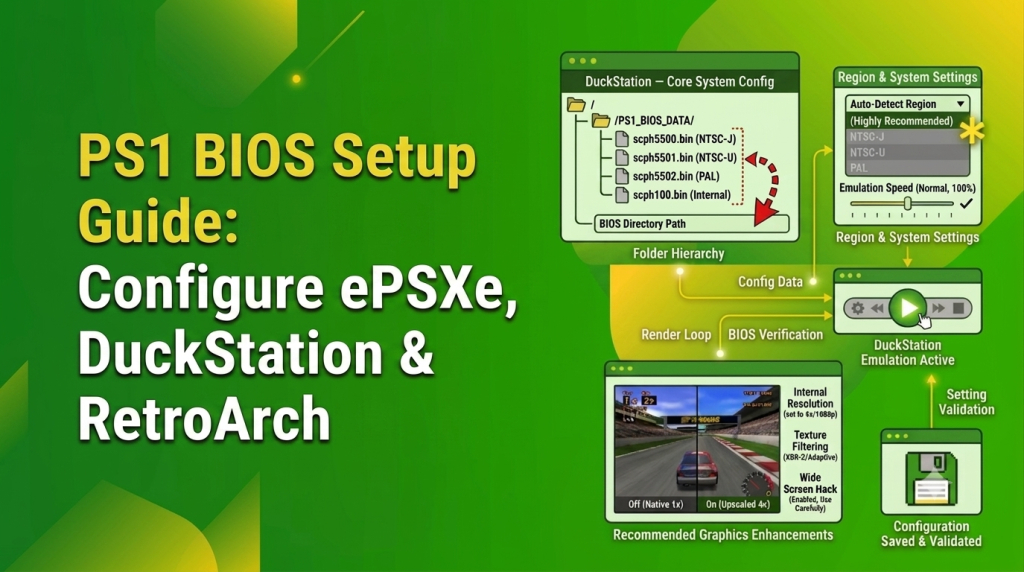
Place the BIOS inside DuckStation’s configured BIOS folder and allow the emulator to scan for available firmware. Once detected, review graphics settings, memory cards, and controller configuration before testing gameplay.
RetroArch — Core-Specific BIOS Placement and RetroArch Configuration
Install a compatible PlayStation core such as Beetle PSX or PCSX-ReARMed, configure RetroArch’s System directory, and copy the BIOS into that location.
Restart RetroArch if necessary and confirm that the selected core detects the BIOS before loading games.
Install and Configure PS1 BIOS — Mobile (Android & iOS)
Mobile PlayStation emulators use a similar setup process but require additional attention to storage permissions and file management.
ePSXe Mobile — File Placement and Emulator Settings
Copy or import the BIOS into the location recognized by ePSXe Mobile, grant storage permissions if prompted, and configure graphics, controls, and memory cards before testing a PlayStation game.
DuckStation Mobile — Adding BIOS and Testing
Import the BIOS through DuckStation’s BIOS settings or place it inside the configured BIOS directory. After confirming successful detection, launch a compatible game and verify that memory cards and controller settings operate correctly.
RetroArch on Mobile — BIOS Location and Core Setup
Copy the BIOS files into RetroArch’s System directory, install a supported PlayStation core, and verify that the firmware is recognized before loading games. Confirm that the application has permission to access the configured storage location.
Verify BIOS and Confirm Emulator Boot

After completing BIOS configuration, launch a known-compatible PlayStation game and verify that the original PlayStation startup animation appears correctly.
Create a save file, restart the emulator, and confirm that the save loads successfully. This verifies that the BIOS, memory card configuration, and overall emulator setup are functioning as expected.
Supported Emulators and Compatibility Notes
Most modern PlayStation emulators support authentic PSX BIOS firmware while offering various graphics enhancements, performance options, and hardware emulation features.
Quick Compatibility Overview: ePSXe, DuckStation, RetroArch
ePSXe focuses on simplicity and broad compatibility, DuckStation provides modern enhancements and high accuracy, while RetroArch supports multiple PlayStation cores with extensive customization options across desktop and mobile platforms.
When a BIOS Is Required vs Built-In Emulation Alternatives
Some emulators provide High-Level Emulation, allowing games to run without an external BIOS, though compatibility and accuracy may vary.
Using an authentic PlayStation BIOS generally produces more reliable startup behavior, better hardware emulation, improved compatibility, and a gameplay experience that more closely resembles the original console.
Common PS1 BIOS Errors and Fixes
Even when a PlayStation emulator is installed correctly, BIOS-related problems can occasionally occur because of incorrect firmware placement, incompatible settings, damaged game images, or configuration mistakes. The following solutions address the most common issues encountered when using ePSXe, DuckStation, RetroArch, and similar emulators.
No BIOS Detected / “BIOS Not Found”
If your emulator cannot detect the BIOS, first confirm that the firmware is stored in the correct BIOS or System directory and that the emulator is configured to scan that location.
Make sure the BIOS file has been extracted from any compressed archive, retains its original filename whenever possible, and passes checksum verification. Restarting the emulator after updating the BIOS directory may also resolve the problem.
Game Crashes or Freezes After BIOS Screen
A game that freezes immediately after the PlayStation startup animation is often caused by a damaged game image, incompatible emulator settings, incorrect BIOS selection, or outdated emulator software.
Verify the integrity of your game image, restore default graphics settings, update the emulator to the latest stable version, and test with another known-compatible game to isolate the source of the issue.
Incorrect Region or Region-Mismatch Errors
Using a BIOS from a different region than the game may cause startup failures, unexpected behavior, or compatibility problems.
Selecting a BIOS that matches the game’s original release region usually yields the best results. Users with games from multiple regions often maintain several BIOS versions and switch between them as needed.
Corrupted Save Files and Memory Card Problems
Memory card errors may occur after changing BIOS versions, switching emulators, or migrating save files between different formats.
Keep backup copies of your memory card files, verify that the correct virtual memory card is selected, and avoid mixing incompatible save formats whenever possible.
Disc Image Not Detected / ISO Mounting Issues
If your emulator cannot load a PlayStation game, confirm that the disc image has been dumped correctly and is stored in a supported format.
Recreating damaged disc images or using verified game dumps often resolves loading failures that appear to be BIOS-related.
Audio Desync, Lag, or High CPU Usage
Poor performance may result from aggressive graphics enhancements, unsuitable audio latency settings, or hardware limitations.
Reduce unnecessary enhancements, use recommended emulator settings, and update graphics drivers when appropriate. Testing with default emulator settings can help identify whether the issue is caused by configuration changes.
Graphics Glitches, Screen Tearing, or Resolution Problems
Visual artifacts are commonly caused by advanced rendering options or incompatible graphics backends rather than the BIOS itself.
Try switching graphics renderers, lowering internal resolution, disabling experimental enhancements, and updating your emulator to improve stability and image quality.
Best Practices and a Quick Troubleshooting Checklist
Following a consistent troubleshooting process can resolve most PlayStation BIOS issues without requiring a complete emulator reinstallation.
Step-by-Step Checklist to Resolve Most BIOS-Related Issues
Begin by verifying the BIOS checksum and confirming that the firmware is stored in the correct directory. Ensure the emulator successfully detects the BIOS, then confirm that your game image is not corrupted and, whenever possible, matches the BIOS region.
Next, restore default emulator settings, update to the latest stable release, test using a known-compatible PlayStation game, and verify that memory cards are configured correctly. If problems continue, review emulator logs or diagnostic information for firmware-related errors.
When to Try a Different BIOS Version or Region
If a specific game continues to experience startup problems or compatibility issues, testing another verified BIOS revision from the same region may help. Some titles work better with certain firmware revisions because they were originally developed for different PlayStation hardware versions.
Changing to a BIOS from another region should generally be considered only when intentionally testing software designed for that regional release or when troubleshooting documented compatibility issues.
Frequently Asked Questions (FAQs)
What is a PS1 BIOS?
A PS1 BIOS is the firmware built into the original Sony PlayStation console. It initializes the hardware, manages the startup process, and enables emulators to accurately reproduce the original system’s behavior.
Do I need a PS1 BIOS for ePSXe, DuckStation, and RetroArch?
A genuine BIOS is recommended because it improves game compatibility, provides the authentic PlayStation startup animation, correctly supports memory cards, and offers more accurate hardware emulation than High-Level Emulation (HLE) alone.
Which PS1 BIOS version should I use?
Use a BIOS that matches the region of your games. NTSC-U is recommended for North American games, PAL for European titles, and NTSC-J for Japanese releases. Matching the BIOS region generally provides the best compatibility.
Can I use the same BIOS with multiple emulators?
Yes. A verified PS1 BIOS can usually be used with ePSXe, DuckStation, RetroArch, and many other PlayStation emulators by placing it in each emulator’s required BIOS or System directory.
Conclusion
A properly configured PS1 BIOS is the foundation of accurate PlayStation emulation. It provides authentic hardware initialization, improves compatibility with classic games, supports reliable memory card functionality, and recreates the original PlayStation startup experience across popular emulators such as ePSXe, DuckStation, and RetroArch.
By selecting the correct regional BIOS, verifying its integrity with trusted checksums, placing it in the proper BIOS directory, and following recommended emulator configuration practices, you can avoid most common setup problems. Keeping verified BIOS backups, using clean game images, and maintaining up-to-date emulator software further improve stability and long-term compatibility.
Whether you are preserving original PlayStation software, enjoying retro gaming on modern hardware, or building a dependable emulation library, understanding how the PS1 BIOS works and configuring it correctly will help you achieve a reliable, authentic, and enjoyable PlayStation emulation experience while respecting applicable copyright laws and licensing requirements.
Latest Post: